Using the Web client#
Caterva2 also offers a way to browse roots and datasets without a dedicated client program, via a Web client that provides some basic functionality. See here for a video demonstration.
Browsing datasets#
First, via a Web browser, go to https://cat2.cloud/demo. You will see a list of roots known to the user, which only includes @public if one is not authenticated:
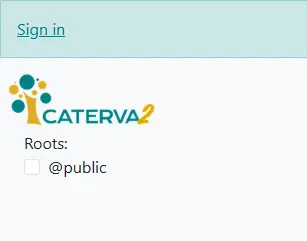
Initial view of the roots known to the user#
Check @public, and you will be able to see the list of datasets in the root, along with a search box.
Entering a string in the search box allows you to narrow the list of datasets down to those whose name contains that string, which is especially useful if you have many datasets. Try entering ds- and clicking on “Search” to limit the list to example datasets (tip: entering .b2 may help filtering out non-Blosc2 datasets).
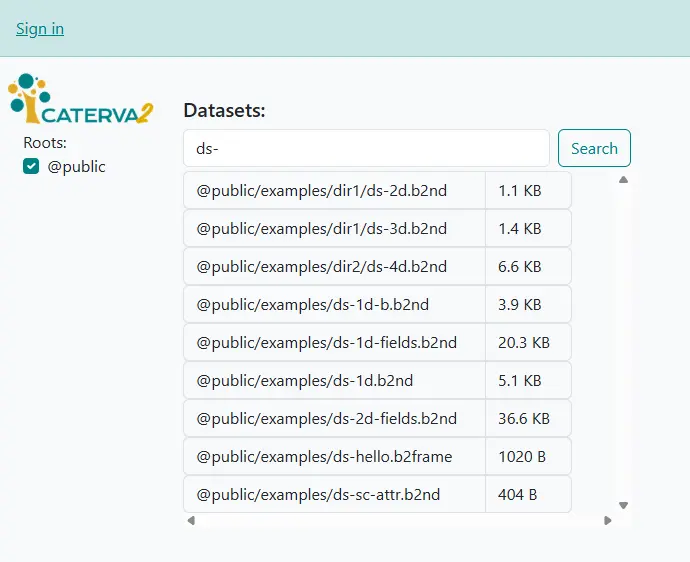
Searching for datasets#
User authentication and personal space#
Up until now we’ve just seen the read-only operations that may be performed on the cat2cloud server. However, as an authenticated user one may perform several write operations that we’ll see next. Returning to https://cat2.cloud/demo, click on “Sign in” and you will be taken to the login screen. First create a user via the “Sign up” link, and then sign in with the same credentials and click on “Login”.
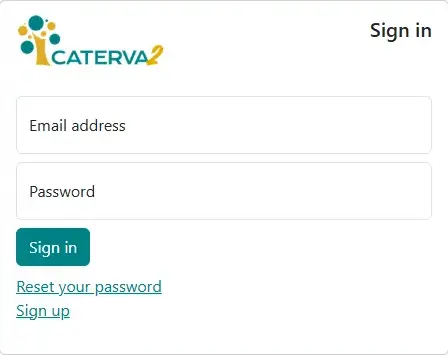
The login screen#
The main Web client screen has some changes now: besides the indication of the logged-in user, one has access to two additional roots called @personal and @shared. In addition, an upload button has appeared beside each of the three roots, and a prompt box has appeared above the datasets section:
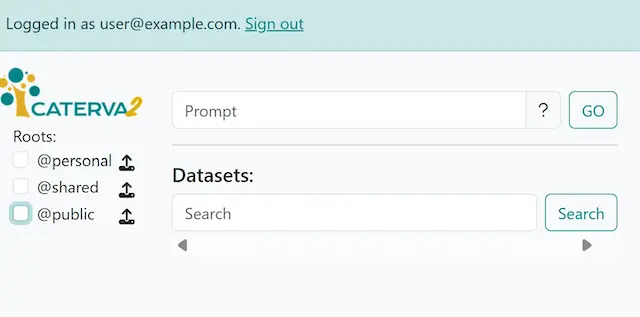
The main screen showing new user features#
The @personal root is offered to each user. It allows the user to store private datasets for their use (as we’ll see below), and each user can only see and access their own personal space. The @shared root is accessible to all the users in a project (in this case demo). It allows the users to share (i.e. both upload and download) datasets with other team members who form part of the same project. As we have seen, the @public root is (read-only) accessible to even unauthenticated users.
Uploading and downloading datasets#
The upload icon beside each root allows you to upload new datasets to them, by clicking it and choosing a file.
Uploading a local file localfile.b2nd to @personal means that a new dataset appears in the (previously empty) @personal root as @personal/localfile.b2nd, in the list of datasets, and its information will be shown. Close to its “Download” link you’ll see a “Delete” link, which will remove the dataset from your personal space (after asking for confirmation).
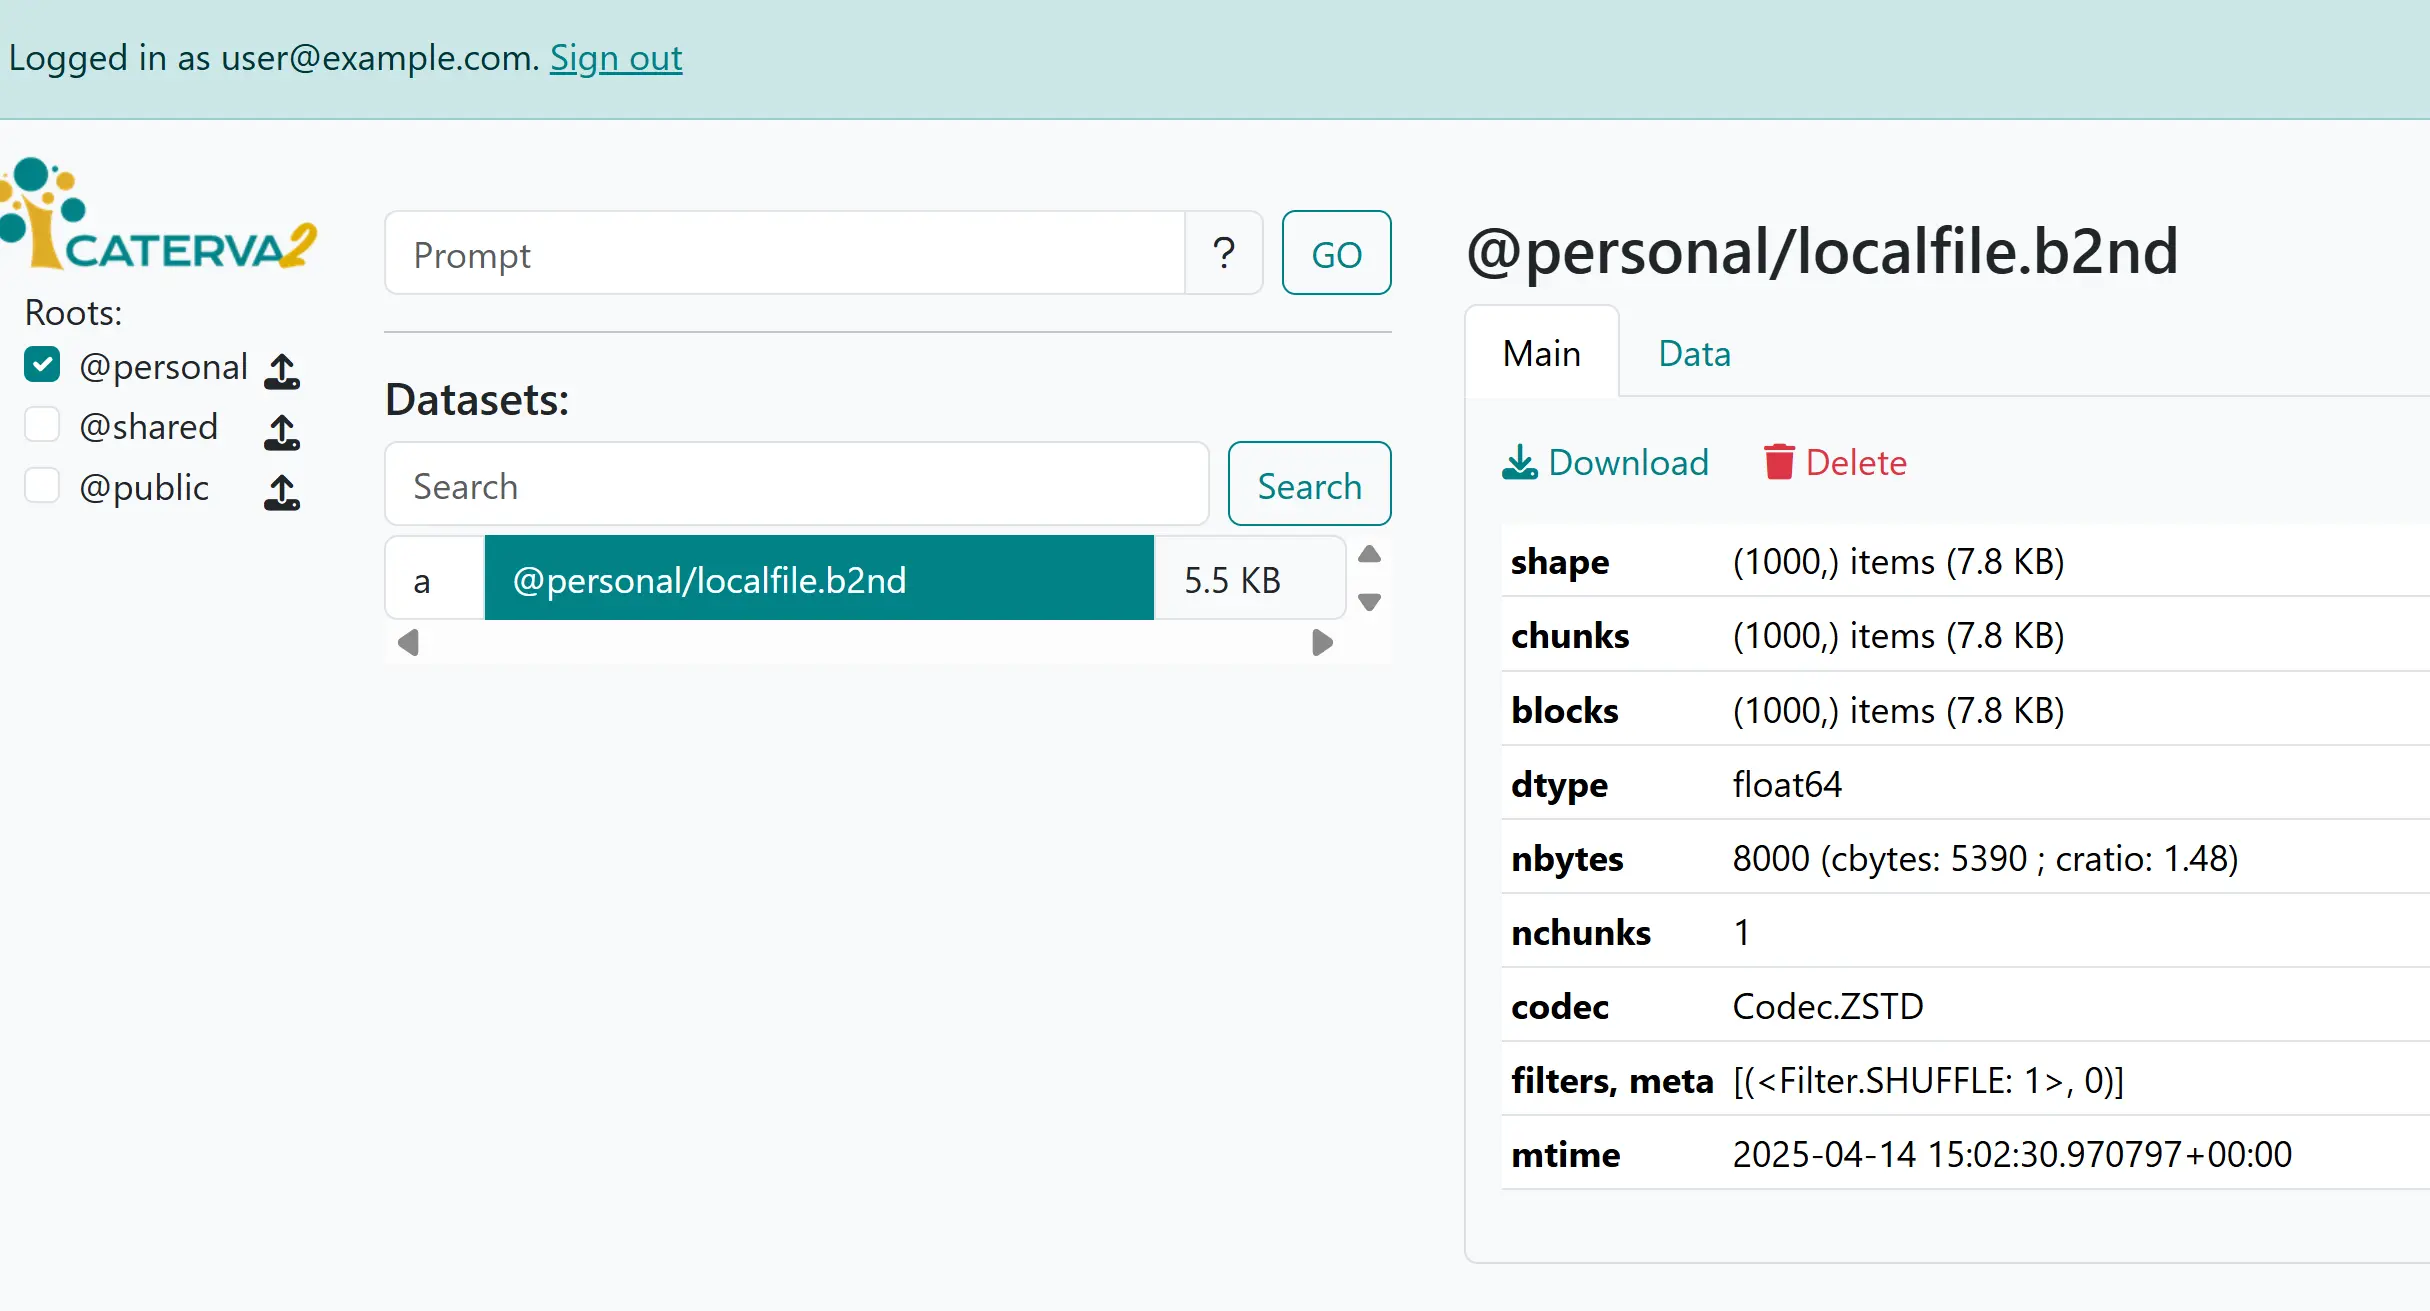
A newly uploaded dataset#
You may now use the uploaded dataset as a normal one: download it, view its data and metadata, and display it if it is of a supported file type. In addition, uploading it to the @shared root allows other project users to also have access to it.
Accessing a dataset#
Click on @public/examples/lung-jpeg2000_10x.b2nd, and you shall get the full name (path) of the dataset and a set of tabs. The default tab shows the main information of the dataset, including a download link for you to save the whole dataset to your computer, plus the metadata that we got from clients in previous sections, all in a nicely formatted table.
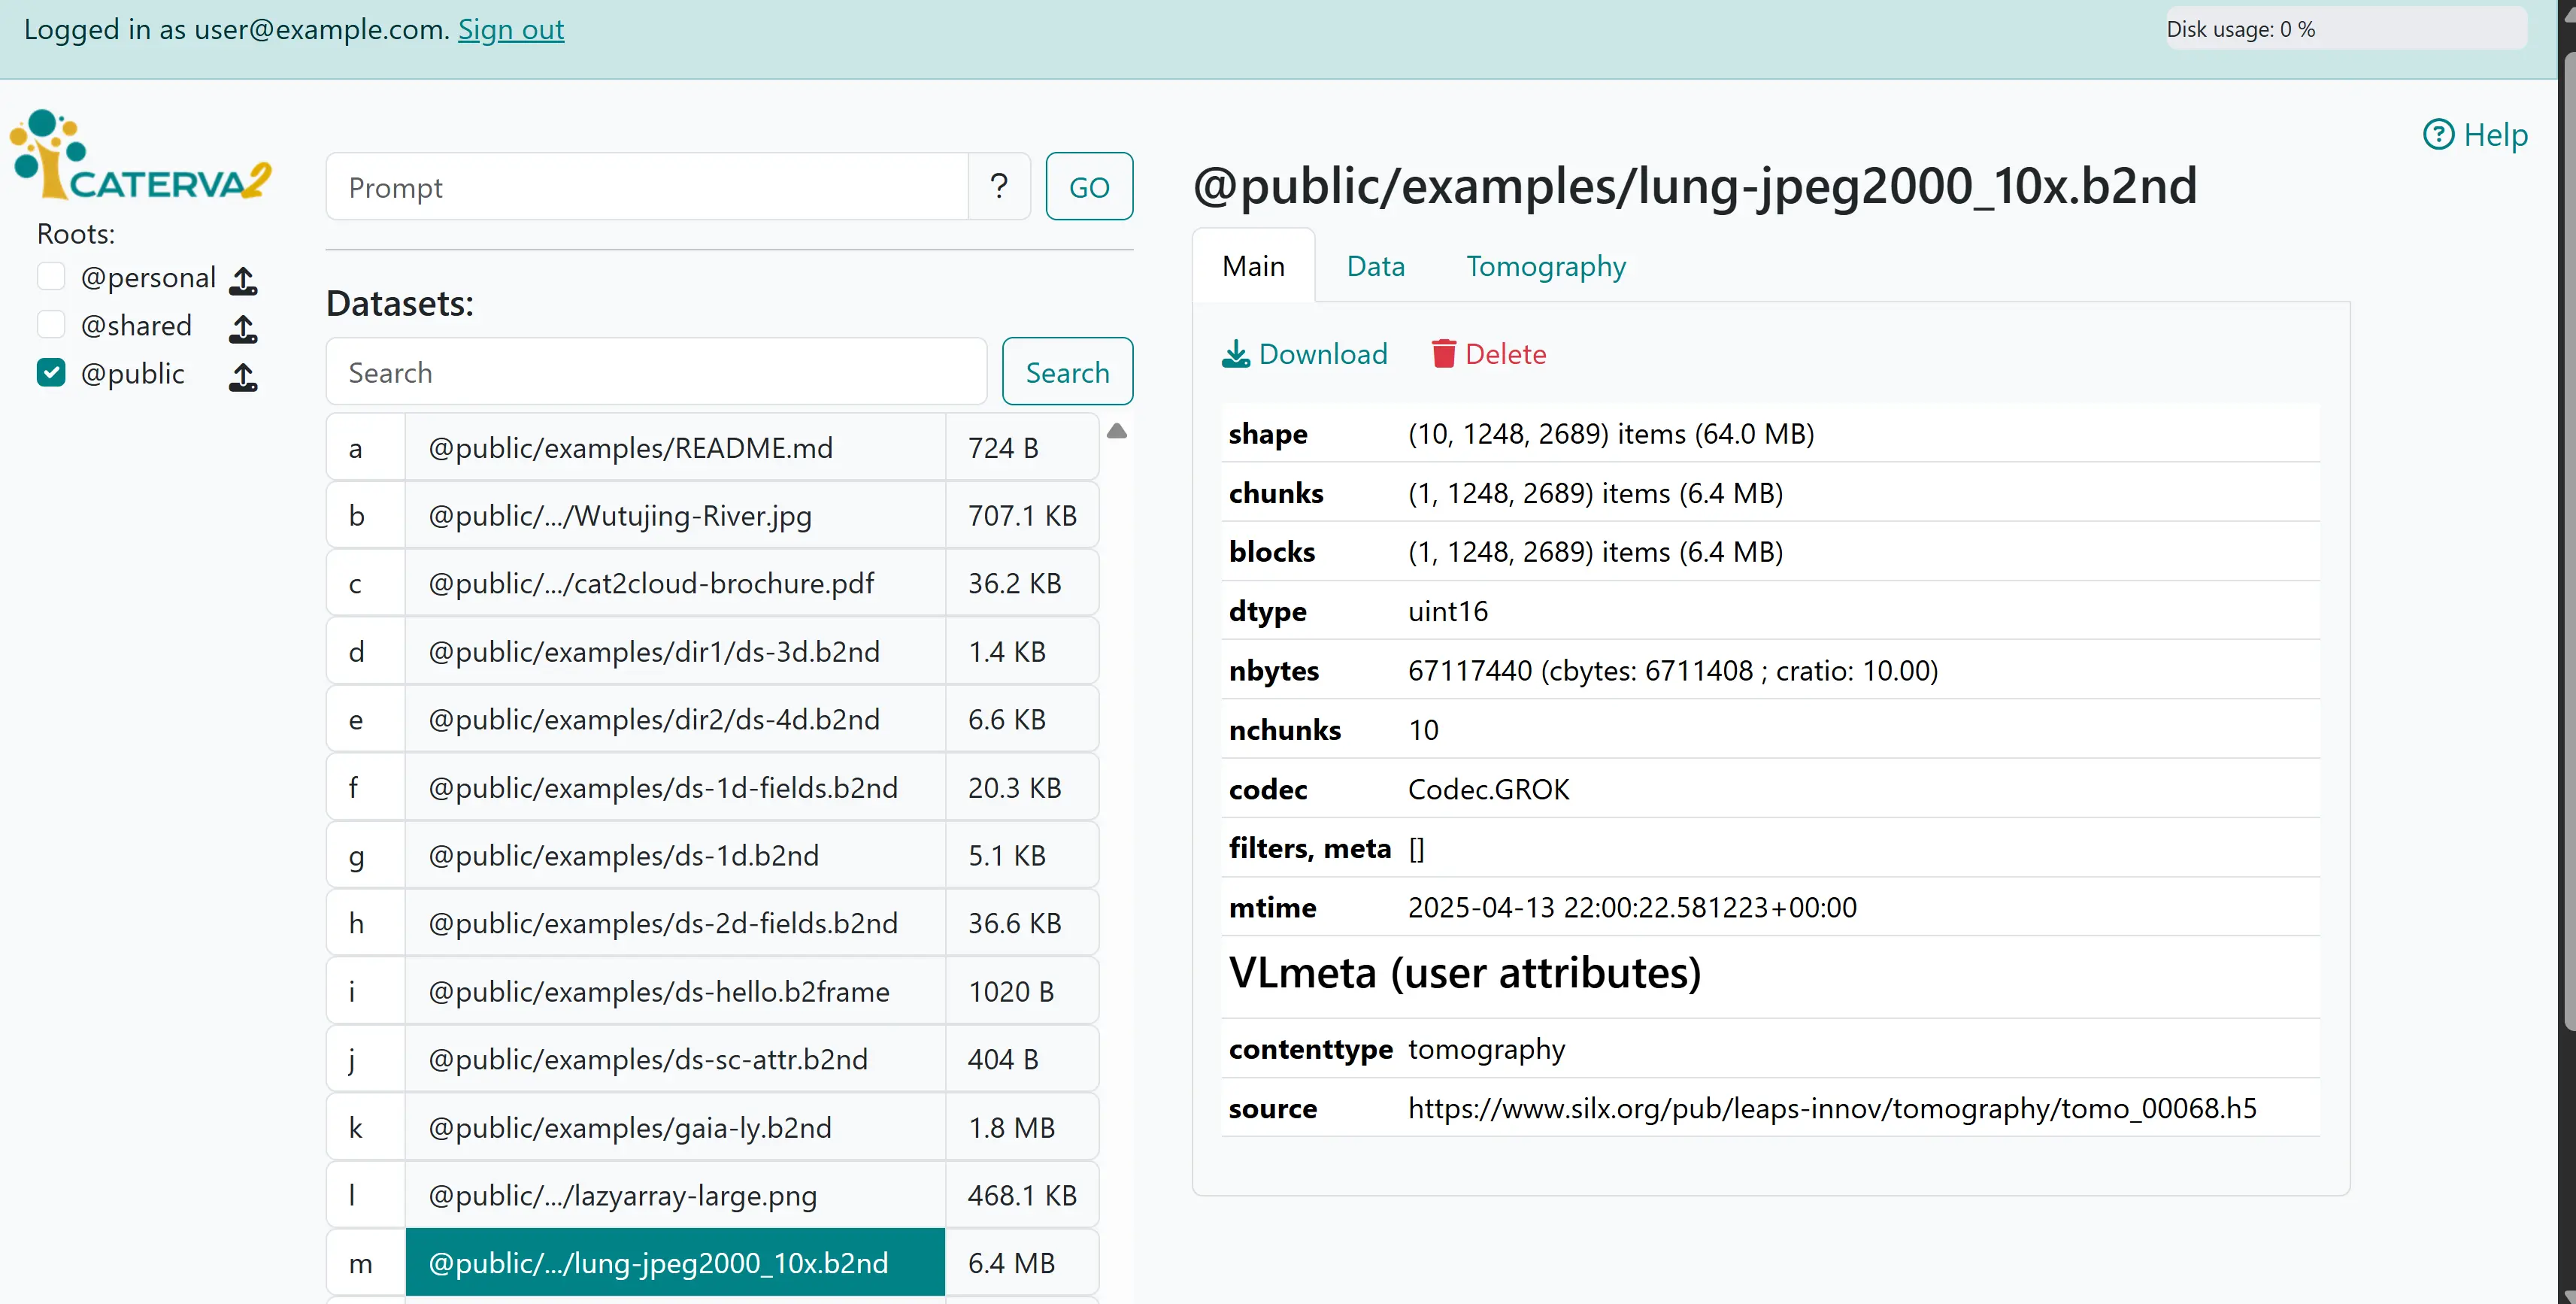
Viewing metadata#
Depending on the dataset, you will also get “Data” and other tabs next to the “Main” tab that we just saw. Click on the “Data” tab to see values in the dataset as a table where you can limit ranges in each dimension and select type fields.
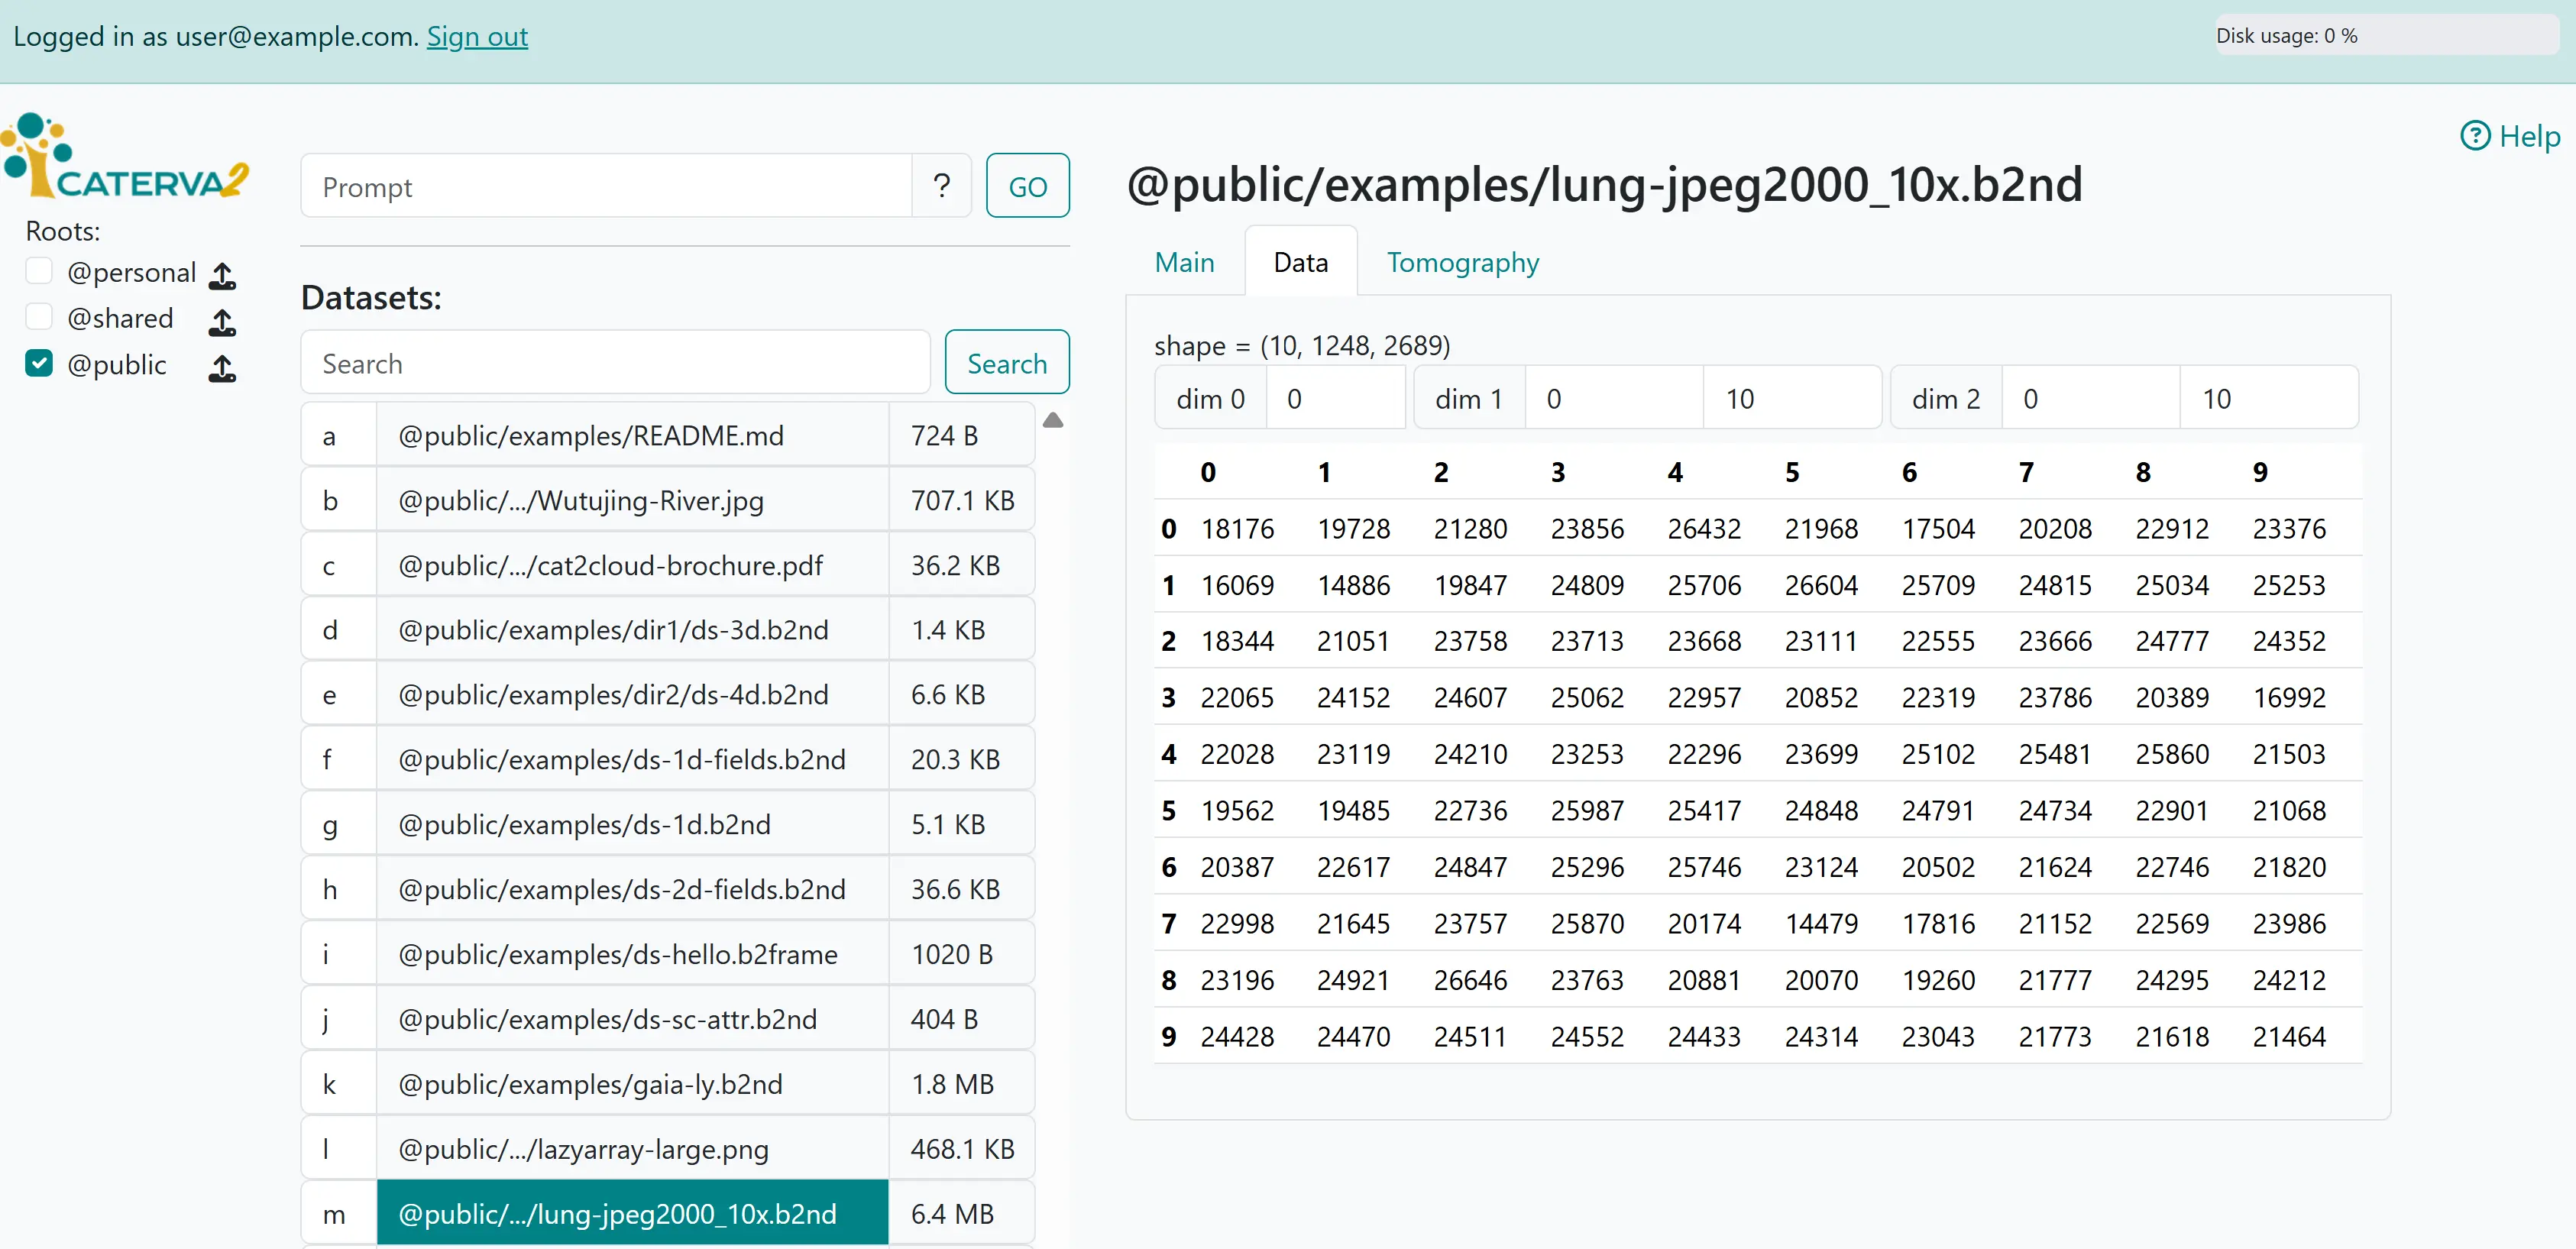
Viewing data#
Other tabs render certain files and datasets according to their declared or guessed content type - in this case, since the data is a tomograph, one has an additional “Tomography” tab. Tomographies are stacks of images stored as 3D (greyscale) or 4D (color) arrays of unsigned integers.
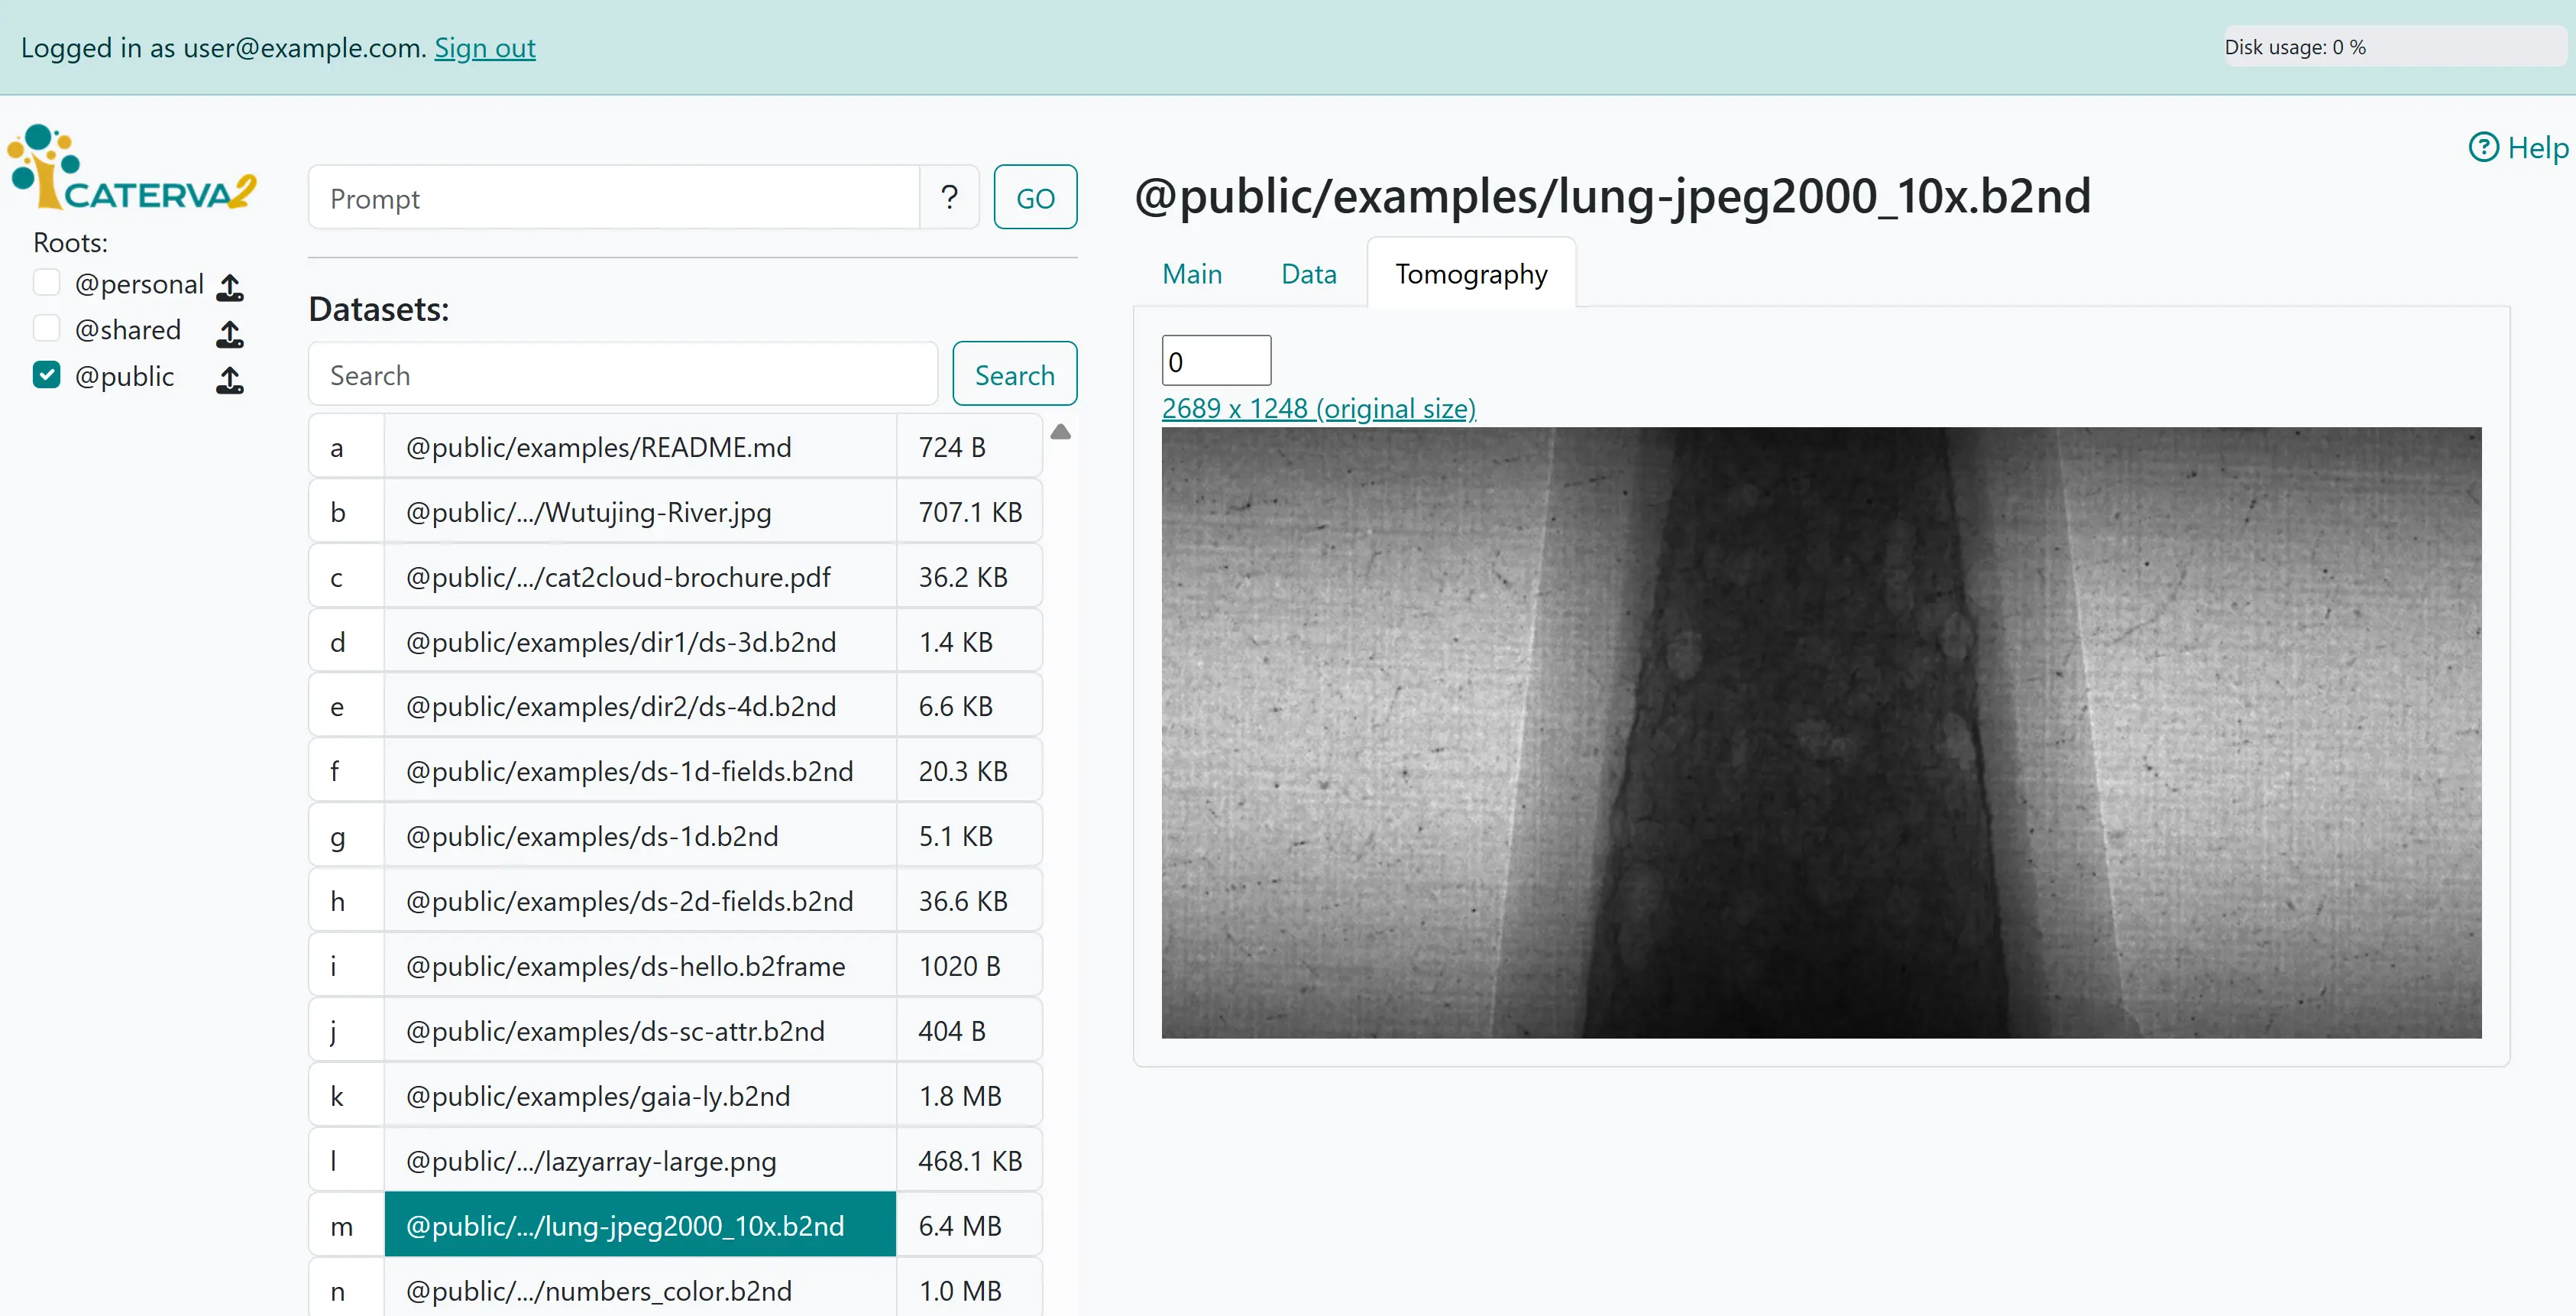
Viewing tomography#
Now try entering .md in the search box, and click on @public/README.md, then on the “Display” tab. The dataset is recognised as a text file with Markdown-formatted content, which is rendered as shown.
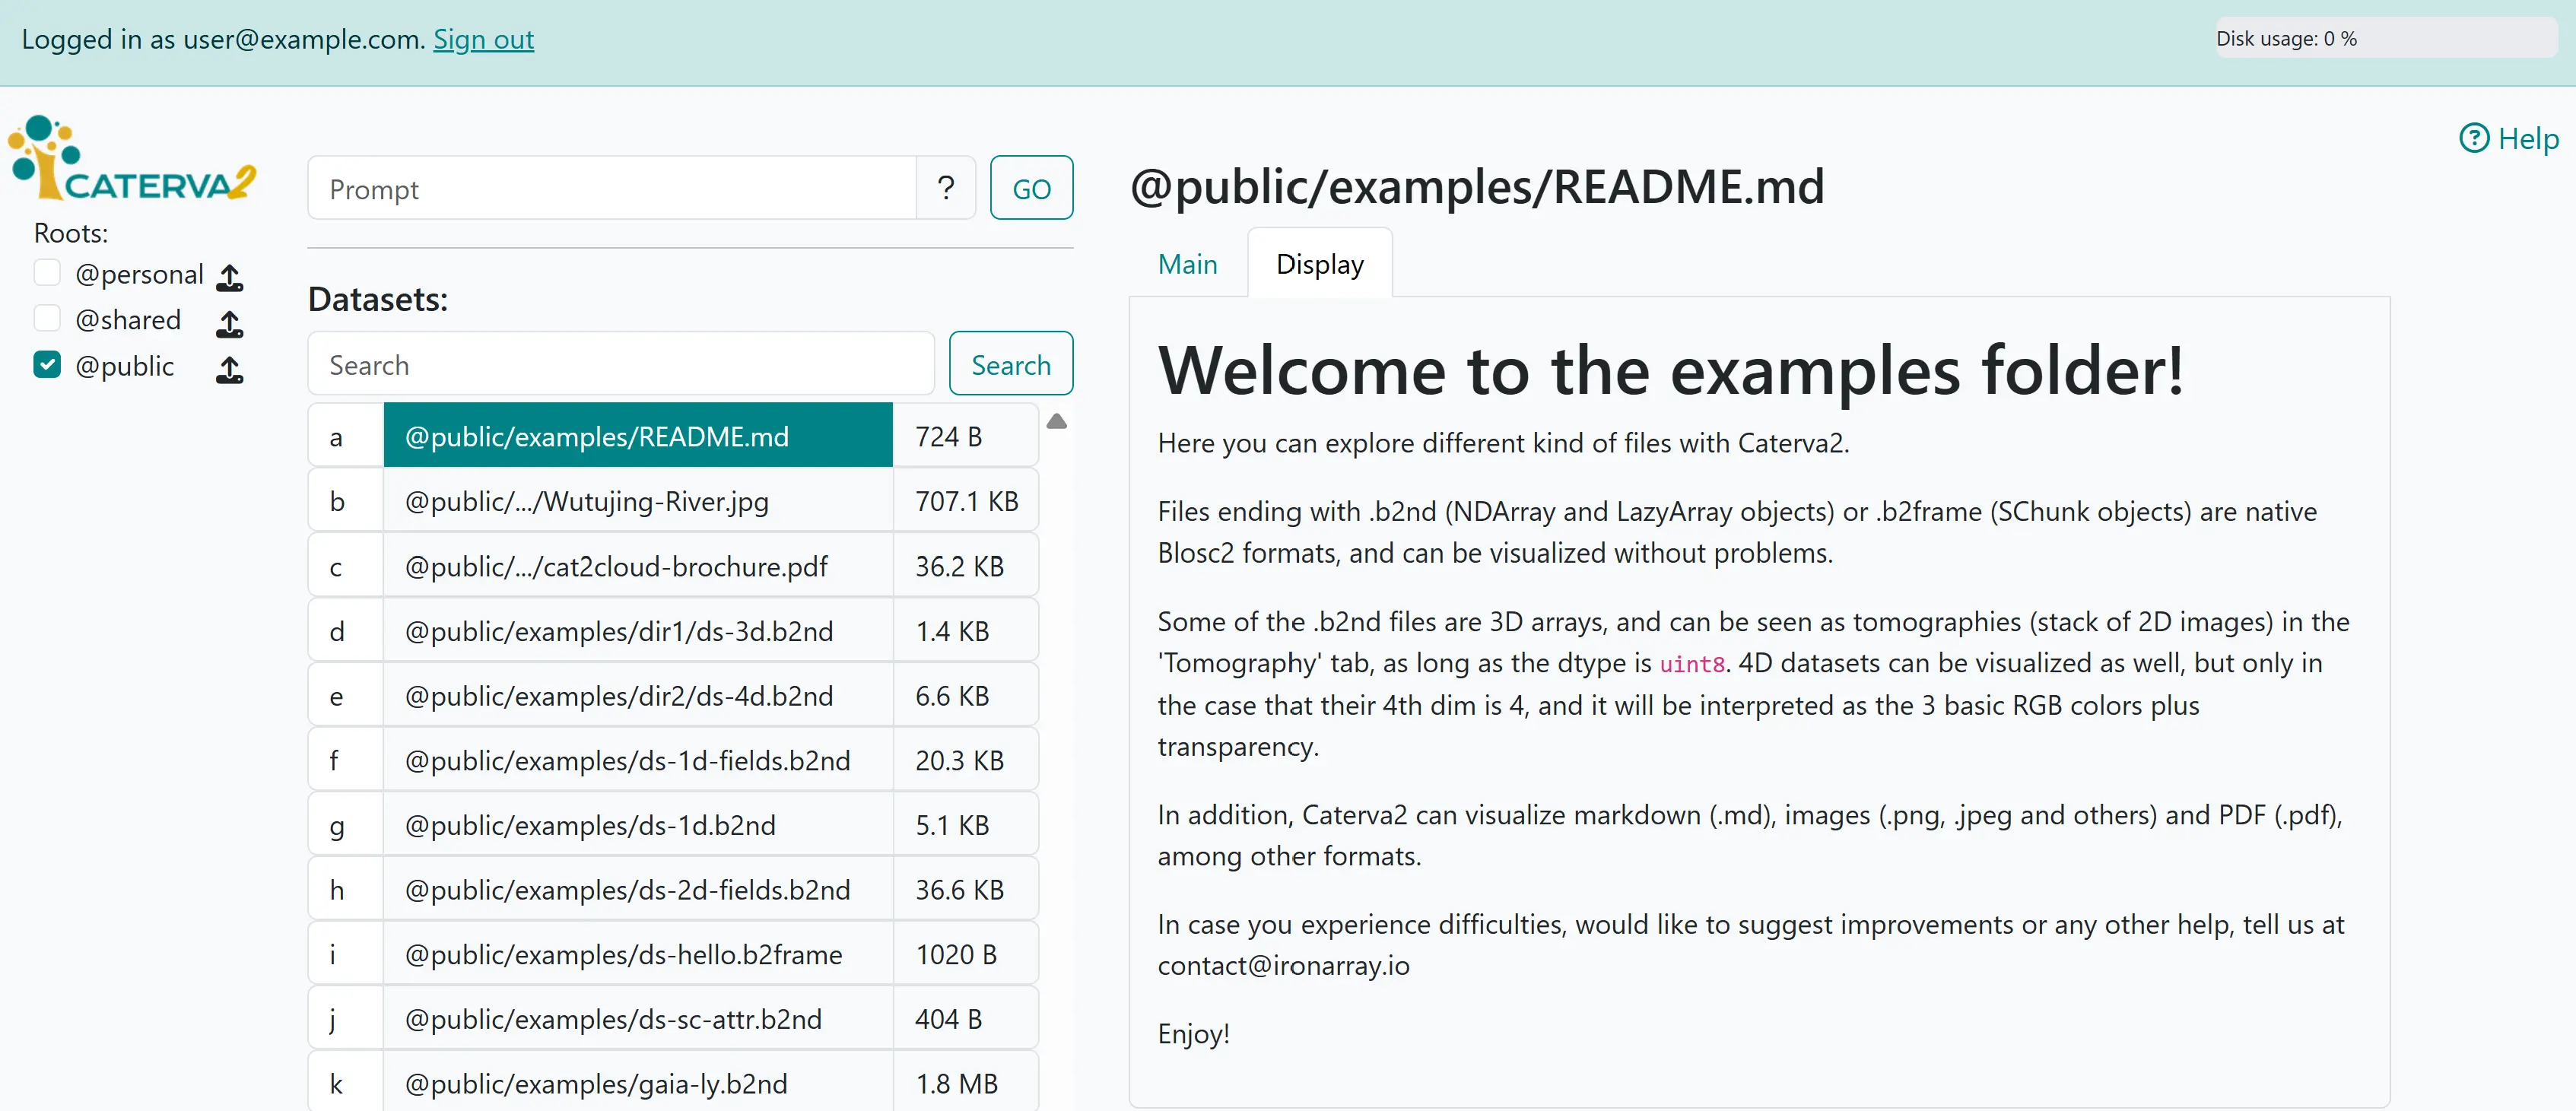
Displaying Markdown text#
Other kinds of datasets, such as jpg files, also have display support.
Computing expressions on datasets#
We turn now to the input box that appeared below the search box upon authentication. It allows you to send commands to be executed by the server. A helpful summary of commands is available by clicking the question mark in the prompt.

A cheat sheet of commands#
The most powerful set of commands are those implemented via “lazy expressions”, which were discussed in the API tutorial. A lazy expression is evaluated dynamically on the server, so creating it is very cheap, and its result always reflects the latest state of the involved datasets (i.e. operands).
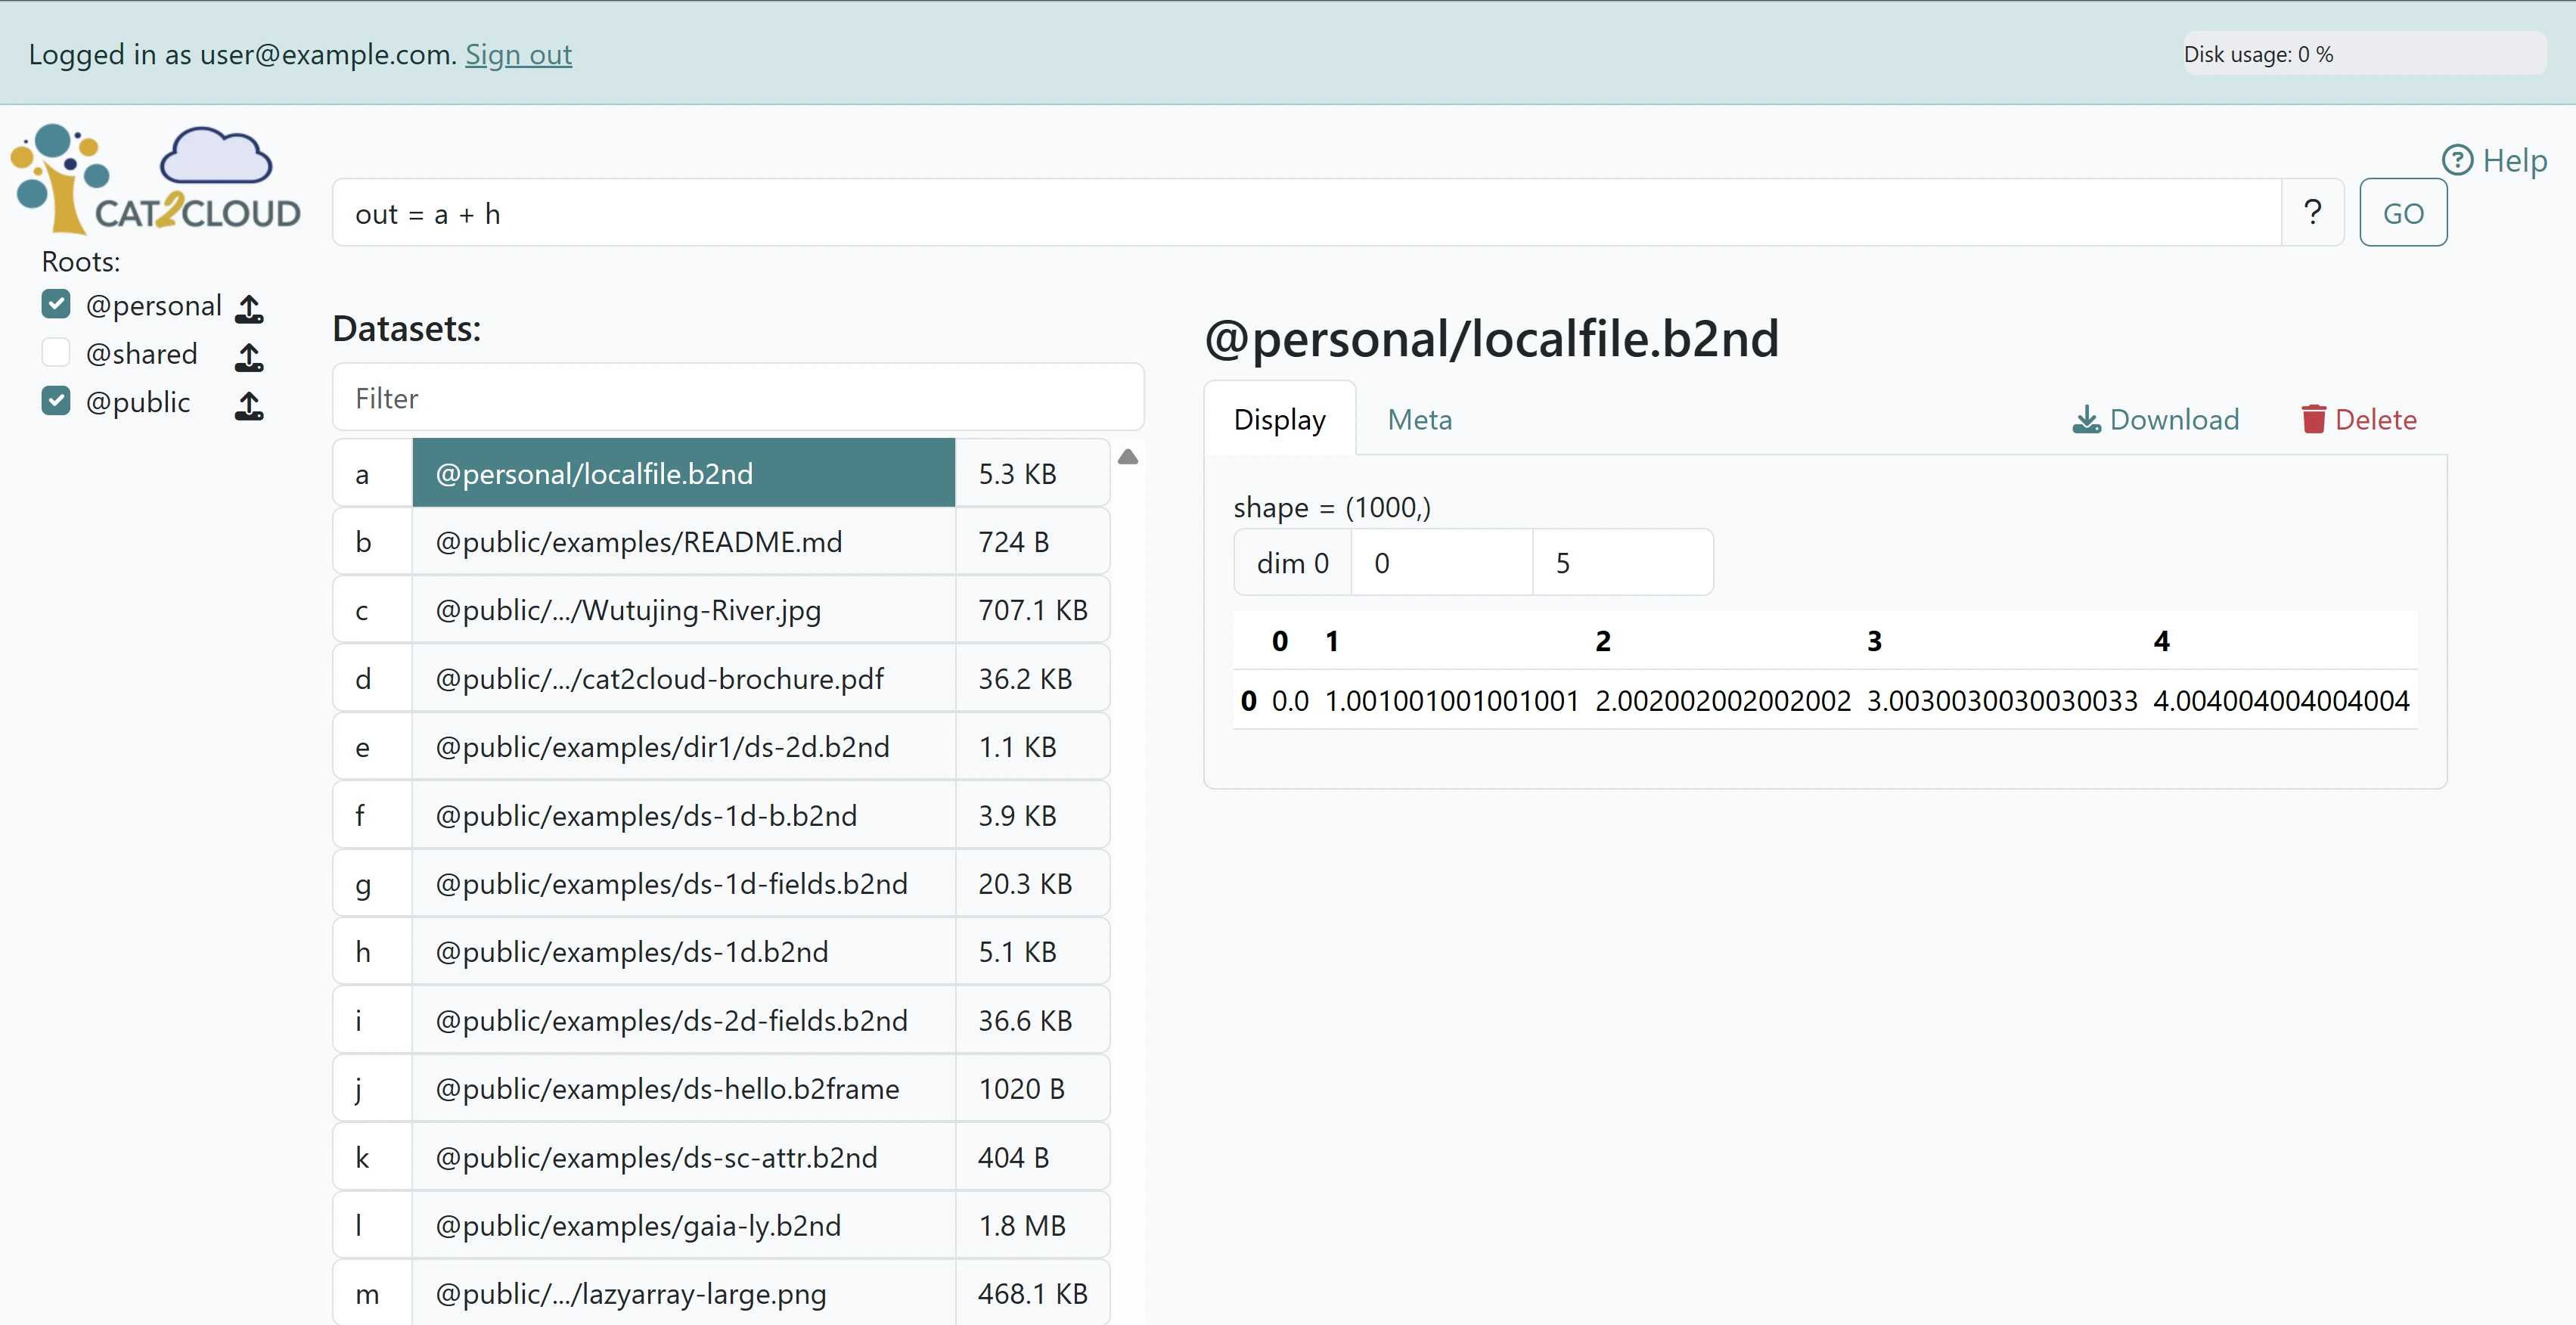
First, let’s select the dataset @personal/localfile.b2nd that we uploaded and view its data. Now select the dataset @personal/ds-1d.b2nd, an array of the same shape. In fact, lazy expressions support broadcasting, so the two datasets can be of different shapes, as long as they are compatible.
Let’s create an expression that adds them together into a new dataset that we’ll call out. The command box accepts Python-like expressions, and we refer to the datasets acting as operands using the tag that appears next to their name in the dataset list. In our case, @personal/localfile.b2nd is tagged as a, and @personal/ds-1d.b2nd as h, thus the command to be entered in the command box is out = a + h. Note that one can also specify file names directly using the syntax out = dset1 + dset2 # {"dset1": "@personal/localfile.b2nd", "dset2": "@personal/ds-1d.b2nd"}, but using tags is often more convenient.
Entering the command and clicking on “GO” creates a new dataset (a LazyExpr) @personal/out.b2nd which should be shown instantly.#
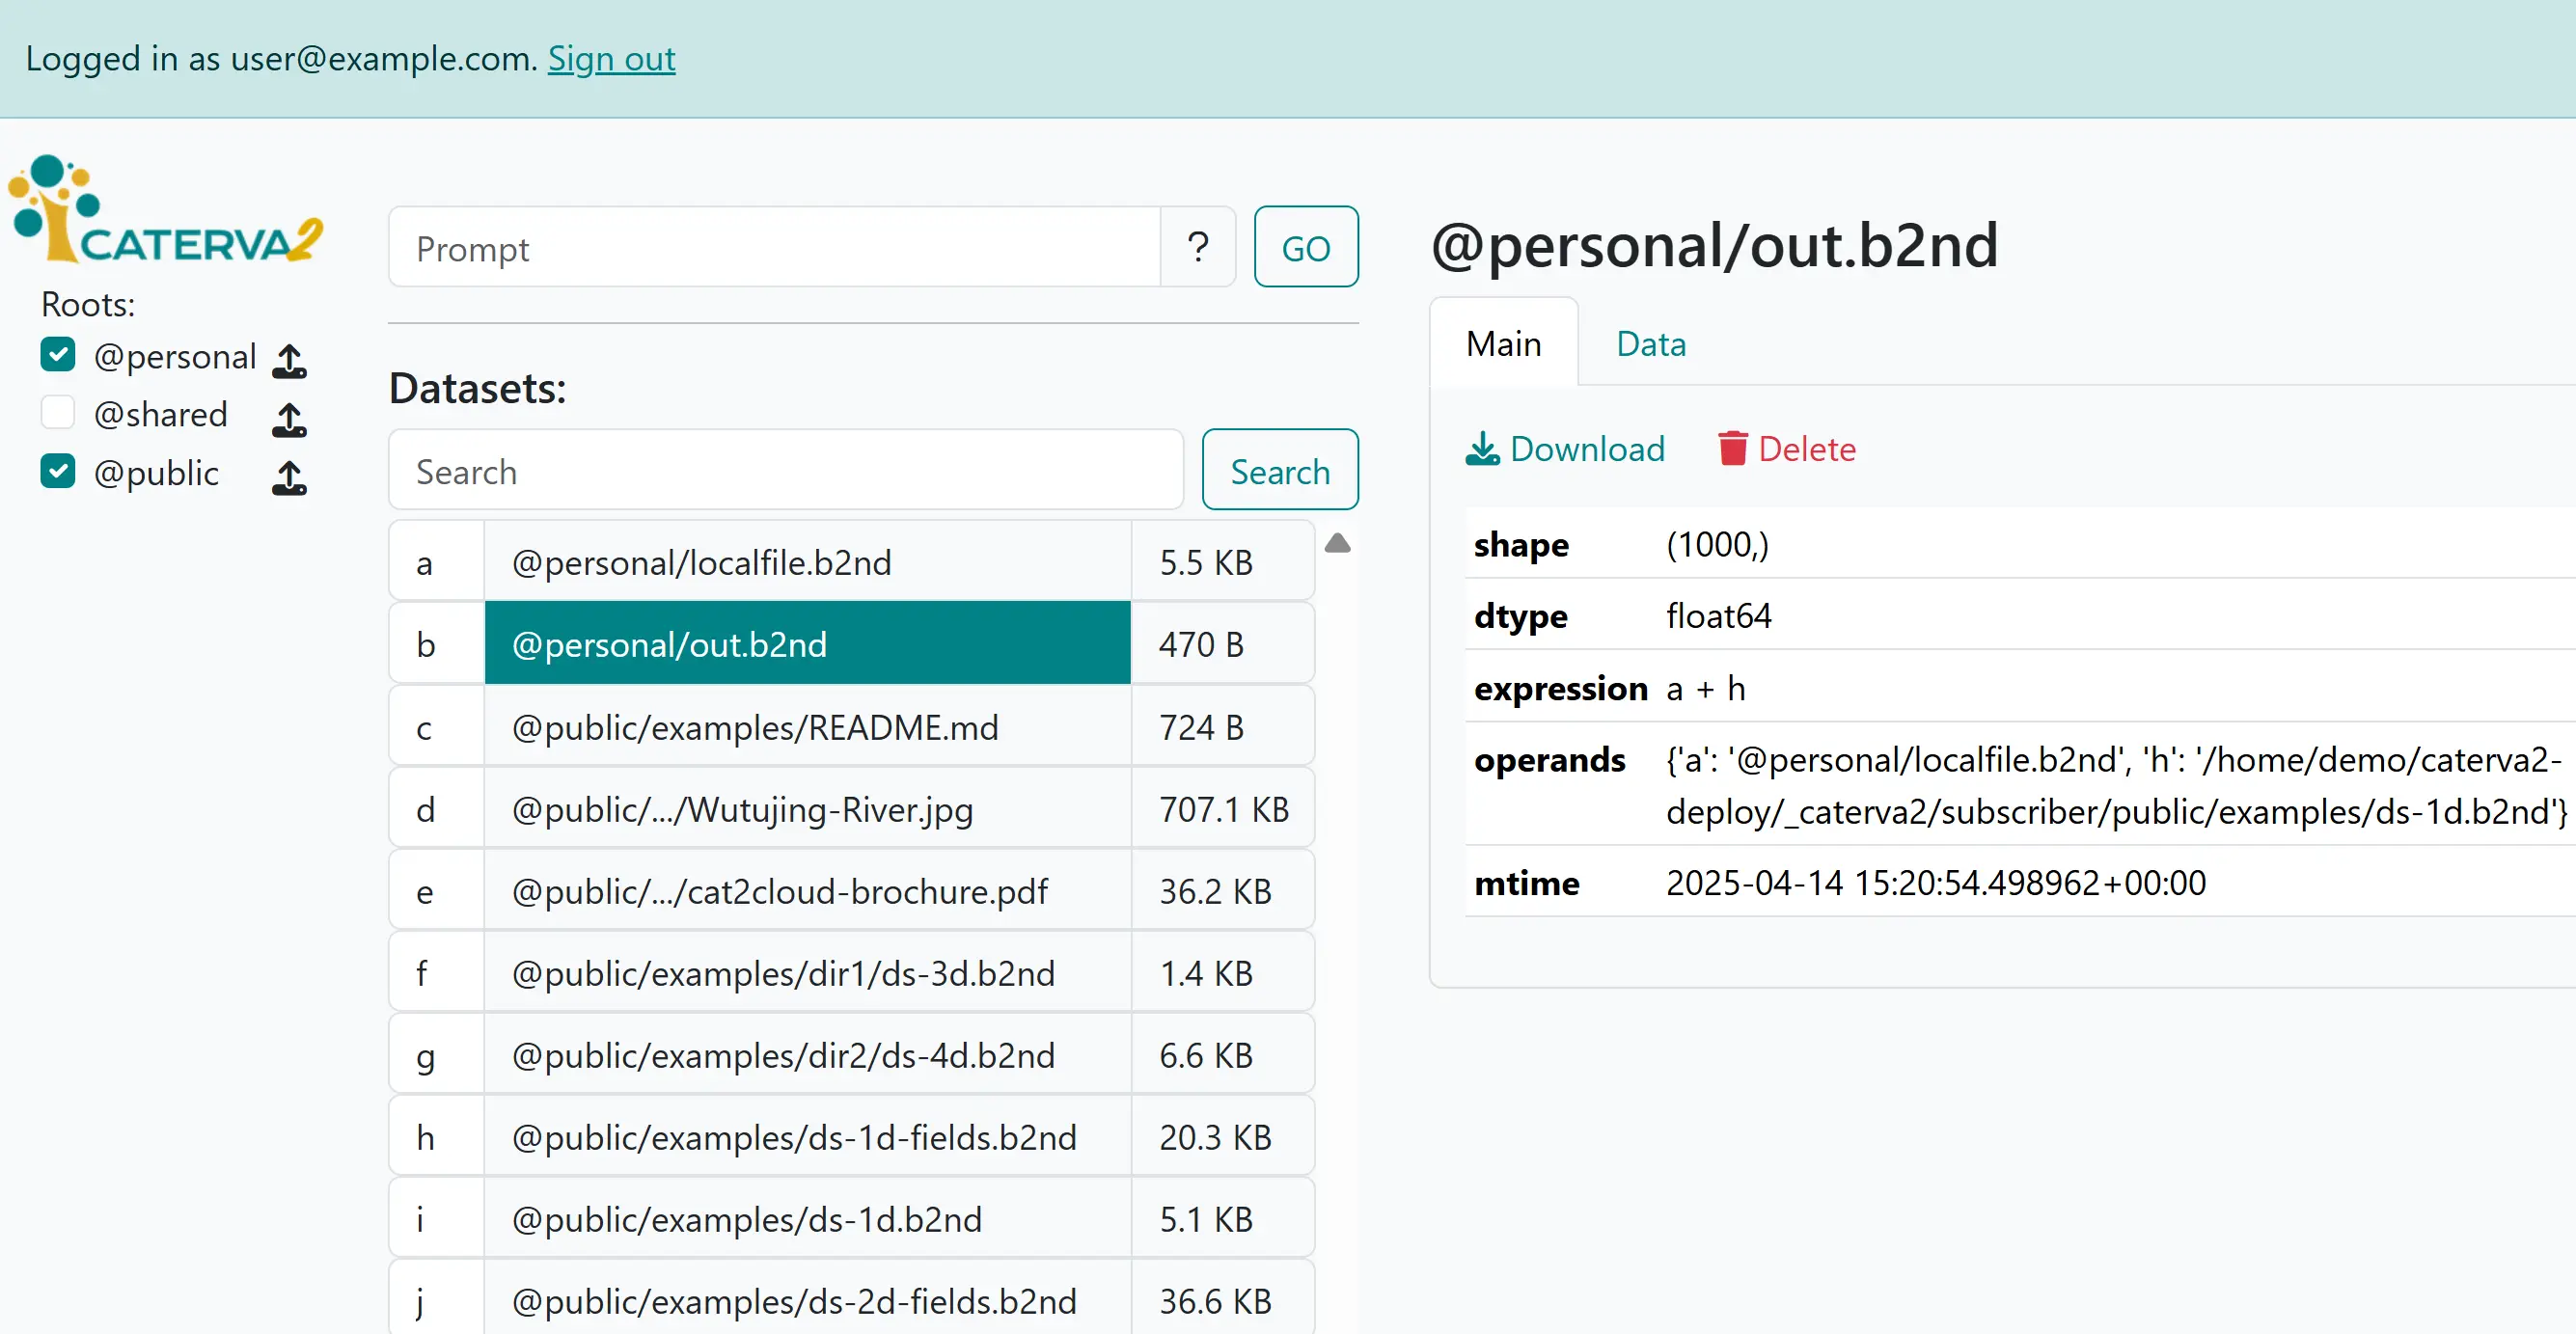
The newly created lazy expression#
The dataset has very reduced metadata that just describes its shape, type, expression and operands. However, it will behave like any other server-hosted dataset, and you may e.g. view its data (which will be computed on-the-fly), have it participate in other lazy expressions, or download it (with fully computed data) to your device. Naturally, it can also be deleted.
Lazy expressions are a very versatile tool. Using them, one may perform complex computations on a powerful and well-connected machine (the server), and download the result to your device once satisfied with the operations. Many arithmetic and reduction operations are supported, just play around with them and find out!